

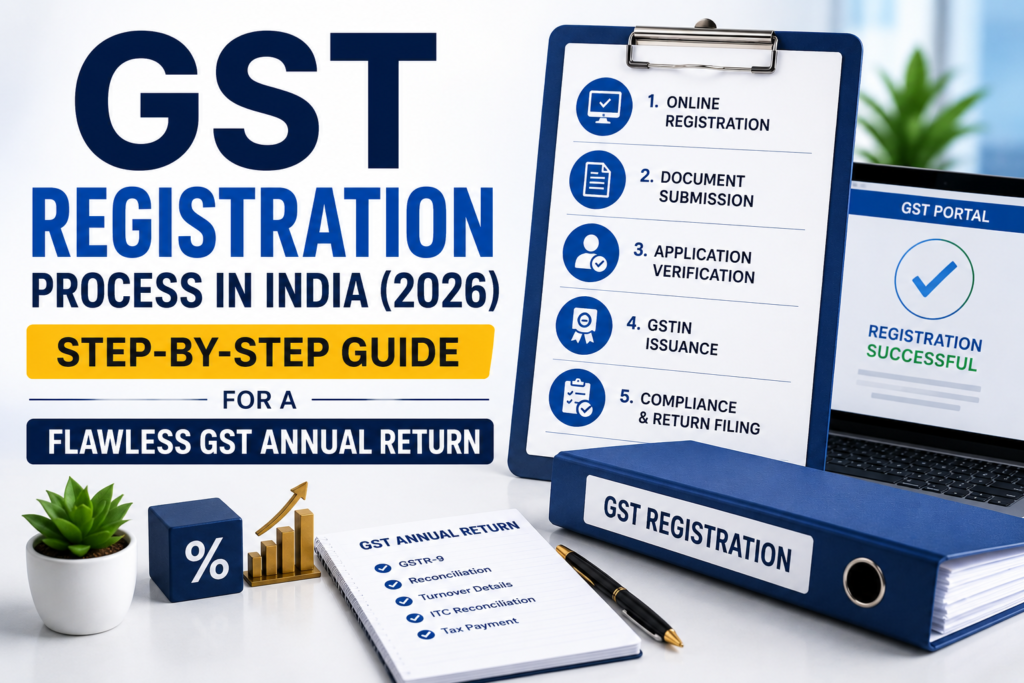
Getting your GST registration right is the first major milestone for your business. It keeps you legally compliant, helps you manage cash flow, and lets you operate without stress. But let’s be honest: the government portal can be confusing, and business owners often make small errors that lead to big delays. Even worse, an incomplete registration form now can cause massive delays and show-cause notices during your application review.
With India’s GST collections hitting record highs of ₹1.94 lakh crore in June 2026, and crackdown of the department on various fake entities and fake invoicing cases, tax authorities are stricter than ever about correct paperwork and Aadhaar verification.

Source: https://tutorial.gst.gov.in/downloads/news/for_publishing_monthly_gst_revenue_june_2026.pdf
In this guide, we will walk you through the exact steps to register quickly, the specific documents you need, and the common mistakes to avoid.
Before opening the GST portal, you need to know how you will legally sign the application. Depending on your business structure, your digital signature requirements change drastically.
| Business structure | Signature requirement | Immediate next step |
| Sole proprietorship | Aadhaar OTP (EVC) | Keep your Aadhaar-linked phone readily accessible. |
| Partnership | Aadhaar OTP (EVC) | Ensure PAN and Aadhaar names match perfectly for the signing partner. |
| Private Limited/LLP | Class 3 DSC (Mandatory) | Purchase and pre-register a Digital Signature Certificate (DSC) before proceeding. |
Need help registering a new Private Limited Company or LLP before getting your GSTIN? Explore our Startup Advisory Services or talk to our Company Law Experts.
GST registration is done entirely online at the official portal: www.gst.gov.in. There is no government fee for this registration.
Securing your GSTIN allows you to officially open your business bank accounts and start making legal, taxable sales. However, if a tax officer finds an error during this review, you won’t get approved; instead, you will face a rejection notice based on a few very common mistakes.
If the officer finds an error, they will halt your application and issue a Show Cause Notice. Ensure quick, rejection-free approval by avoiding these mistakes:
(Note: Under CBIC Instruction No. 03/2025-GST, officers cannot demand your landlord’s personal PAN card or photo if you provide a valid rent agreement and utility bill. However, some tax officers are still requesting for self-attested pan and aadhar of the owners).
Understanding these traps allows you to prepare perfectly. The best way to avoid a show-cause notice is to organize every single required document before you even generate your TRN.
Gather your paperwork before you start the application to ensure your foundational data perfectly matches what you submit on the GST portal.
| Business Structure | Additional Documents Required |
| Sole Proprietorship | Individual PAN card (functions as the business PAN). |
| Partnership Firm | Firm PAN, Partnership Deed, Authorization letter signed by all partners. |
| Limited Liability Partnership (LLP) | LLP PAN, MCA Certificate of Incorporation, LLP Agreement. |
| Private / Public Limited Company | Company PAN, MCA Certificate of Incorporation, Board Resolution, MOA/AOA. |
Organizing this checklist guarantees a frictionless upload process during Phase 3. It also establishes the pristine paper trail you need for all future tax compliance from day one.
(Note: If your business is already registered and you are looking for support in GST compliances, check out what our team has to offer on GST Consultancy Services)
Don’t let portal errors, rigid file size limits, or frustrating show-cause notices disrupt your business launch. If your corporate structure is complex, or you simply want to focus on growing your business without the compliance stress, connect with Master Brains. Our experts ensure your registration is flawless and your tax profile remains secure and compliant from day one.
If you do not submit Part B of Form REG-01 within the 15-day window, your Temporary Reference Number expires, and you must restart the entire application process.
No. A Class 3 Digital Signature Certificate (DSC) is strictly mandatory for Private Limited Companies, Public Limited Companies, and LLPs.
Sole proprietorships and partnerships can use an Aadhaar-based OTP.
If your application is non-risky and your Aadhaar authentication is successful, approval takes about 20 – 25 working days. If flagged for physical verification, processing can take additional 15 working days.
Yes. Accurately declaring your HSN/SAC codes and business details during registration ensures your profile passes officer verification without triggering a show-cause notice.
Yes, proprietor/authorised director/partner/signatory has to click geotagged photos at the principal place of business with a proper board/flex with the information of the business and attach it along with the application.

Master Brains is a consultancy firm based in Delhi having associate partners including Chartered Accountants, Company Secretaries, Cost Accountants, Investment Bankers, Registered Valuers and other consultants in the field of Finance, Tax and Law, PAN India.


